|
The lower half of the drag-box was badly
corroded, this has been cut out and new steelwork cut, flanged and welded in.
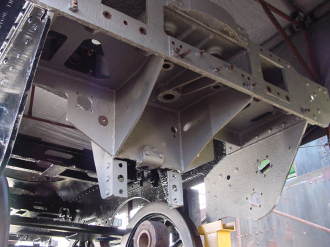
The picture below was taken from
underneath the dragbox, showing the lower plates burnt away and the
grinding work completed. This work was carried out in the early part of
2003.
|
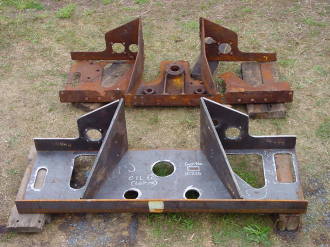
The new dragbox components laid out, with the old parts behind, for comparison. The photo shows the longitudinal plates before they were bent to shape. |
|
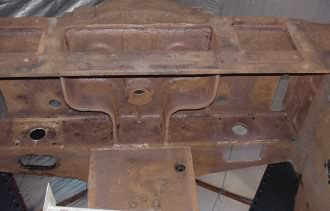
The new bottom dragbox plate in position, ready to be jacked into place, September 2003. It fitted at the third time of asking, which was ok.
|
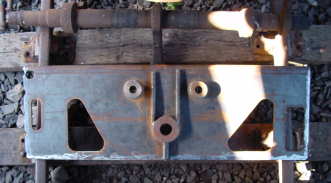
View showing the new bottom dragbox plate with the drawbar and safety pin bushes welded in, ready to be offered up. The weighshaft can be seen at the top of the picture. This will require some re-machining before it can be refitted. |
|
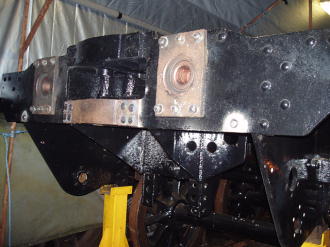
The new drag box assembly tacked in place and ready for welding. OIL in Aberdeen organised getting the plate flanged for us, but we did the rest ourselves. Ian turned up the bosses on the lathe, using the originals as patterns.
|
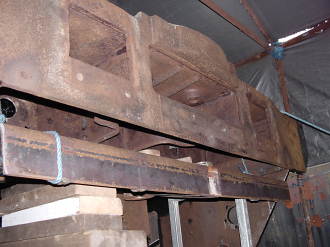
The completed drag box assembly. The wing plates and longitudinal stiffeners have been welded in and the whole assembly given a coat of primer. |
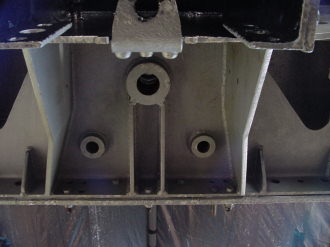
This view taken from below shows the various webs and the excellent standard of welding, all thanks to Mark Stewart who very kindly came down and helped us out over several weekends. Thanks, Mark. |
|
|
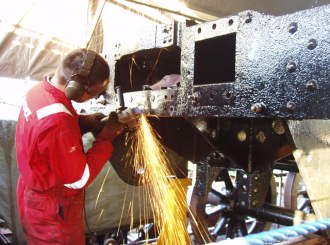
Ian cleaning out the holes prior to putting in the 3/4" tender buffer beam rivets, October 2005.
|
Robin grinding down the head of one of the buffer beam rivets to enable the rubbing plate to fit flush, October 2005. Photo Iain Smith |
|
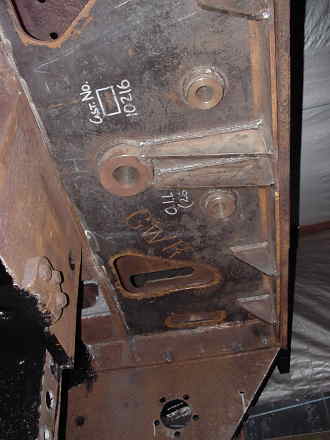
The Mk 3 spragging device. Hidden behind the shifter is a rectangular locating plate tack welded to the dragbox. November 2005. Photo Iain Smith
|
The buffer beam rivetting completed and the miniature buffer stocks refitted, November 2005. |
| Back |
© The Carmyllie Pilot Company Ltd 2005 |