PAINTING
|
|
|
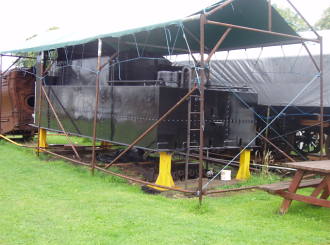
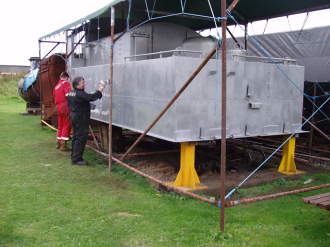
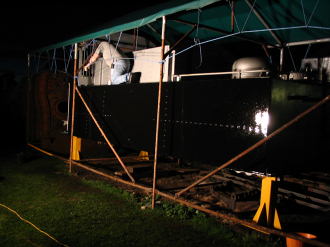
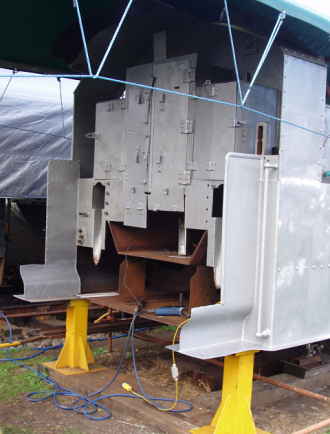
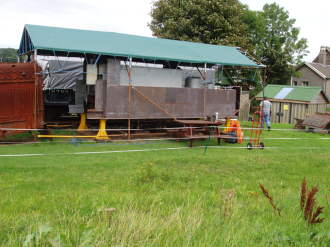
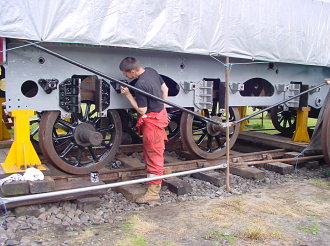
The tender frames uncovered ready for lifting the tank, June 2006. Photo: Ian Hopley |
The tender tank approaching completion, June 2006. Photo: Iain Smith
|
|
John priming the steps and rear sand boxes, February 2006. |
The sandboxes in primer, January 2006.
|
|
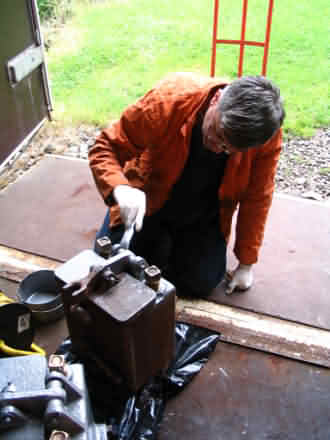
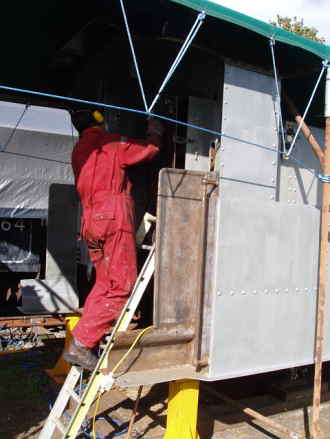
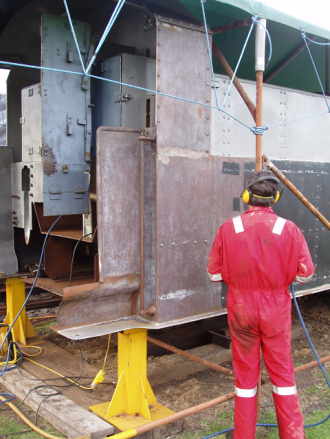
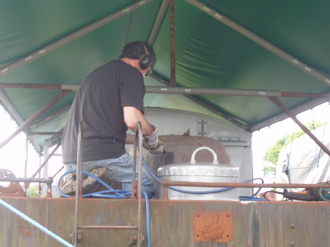
Davie needle-gunning the weighshaft, November 2005. |
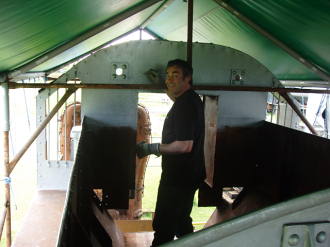
John needle-gunning the rear sand-boxes. The access covers were cleaned up and new rubber gaskets made. December 2005.
|
|
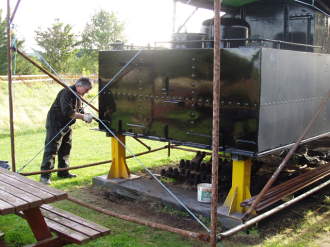
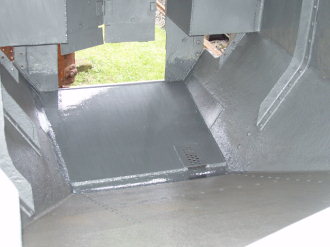
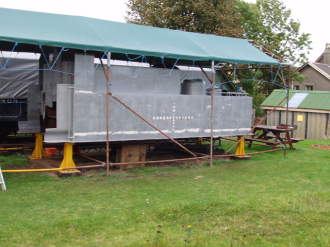
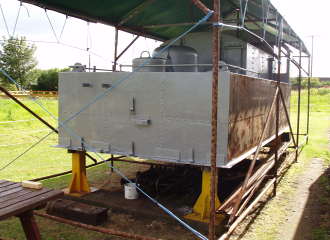
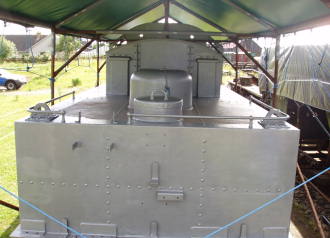
Tender tank with exterior black topcoat completed just in time for winter. |
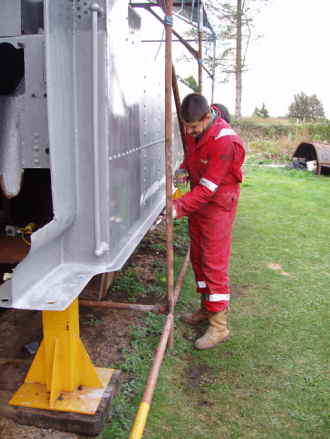
More priming of the tender brake pipes, September 2005.
|
|
Iain priming the tender brake pipes, September 2005. |
A lot of hard work went into achieving this finish, hence the smug look, September 2005.
|
|
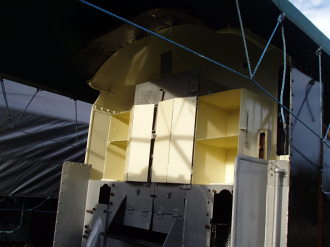
The cab roof and lockers resplendent in cream paint, September 2005. |
The sieve boxes completed. August 2005.
|
|
Robin painting the tender cab roof in black topcoat, September 2005. |
Only the north side left in grey primer. August 2005.
|
|
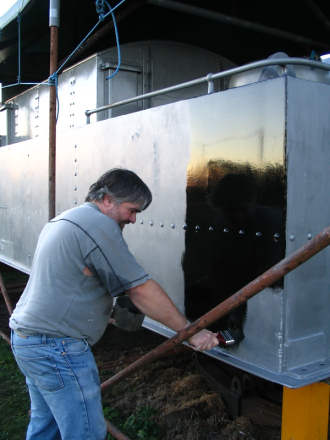
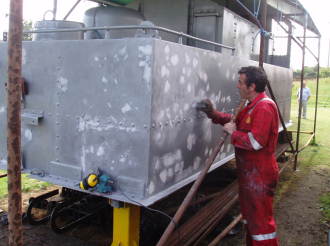
Ian finishing painting the back of the tender tank, September 2005. |
John carried out a lot of preparation and priming midweek during July 2005, enabling good progress to be made at the weekends.
|
|
The bunker and cab receive their first coat of black topcoat, August 2005. |
The completed bunker floor, July 2005.
|
|
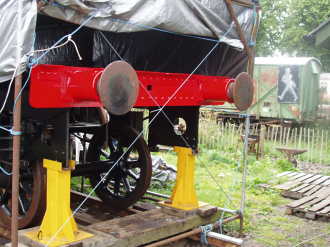
The tender buffer beam in red topcoat, July 2005. |
Iain priming the underside of the bunker floor, July 2005.
|
|
The tender buffer beam in primer, July 2005. |
Davie Murray priming the sieve boxes, May 2005.
|
|
Iain needle-gunning the tender buffer beam, July 2005. |
Ian finishing up the last of the paint on the top of the tank, November 2004.
|
|
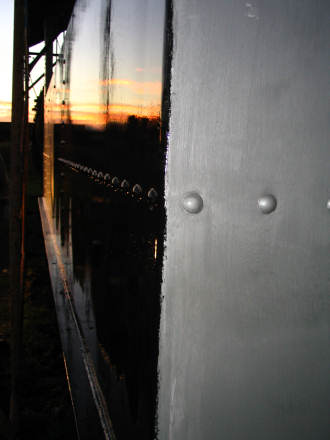
The bunker primed, all ready for the new floor to go in, July 2005. |
Nice reflection of the sunset in the new paint.
|
|
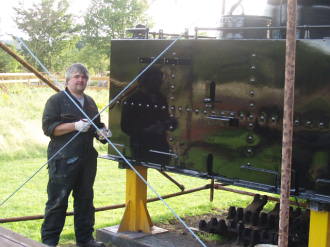
Robin and Ian applying the final coat of primer, October 2004. |
The newly-painted tender tank.
|
|
The LHS tender tank rubbed down and ready for the second coat of primer. The bunker sides have already had their second coat of primer. |
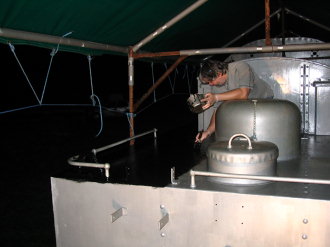
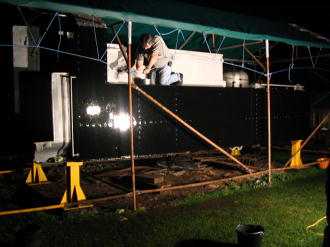
The tender tank at night. The need to finish this operation by floodlight underlines the difficulties we face working outside in North-East Scotland in winter!
|
|
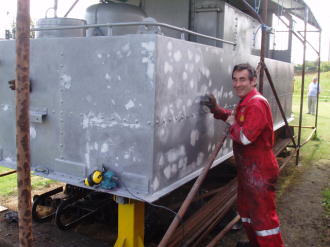
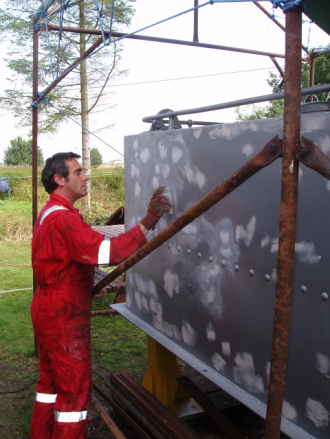
Time spent filling and rubbing down is repaid by a better finish. |
Ian makes a start on putting on the black topcoat on the south side of the tender tank. Prior to this the primer had been given a final rub down with wet and dry paper to ensure as good a finish as reasonably practical.
|
|
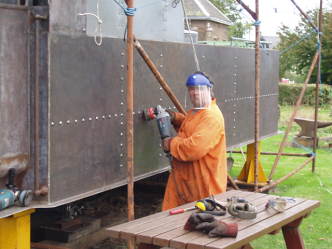
Iain rubbing down the RHS tank side. This side was in a worse state than the left hand side, and has required a lot more preparation. |
The tender cab primed, September 2004.
|
|
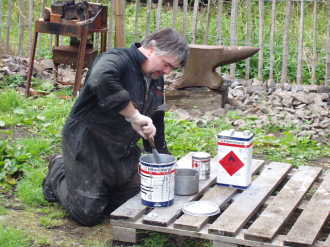
Ian mixing up the primer prior to adding the catalyst. |
John wire mopping the locker doors prior to priming, September 2004.
|
|
Ian wire-brushing the last of the tender tank in readiness for painting, September 2004. |
Needle-gunning of tender tank complete, September 2004.
|
|
John makes a start on the last bit of needle-gunning required for the tender tank, August 2004. |
Needle-gunning of tender tank complete, September 2004.
|
|
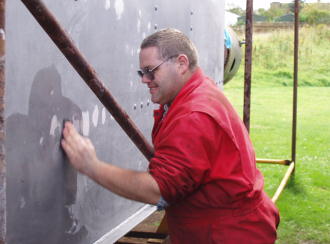
John rubbing down filler on the tender tank, August 2004. There are a lot of minor surface imperfections which need filling and sanding down to achieve a good finish. |
John wire mopping the locker doors prior to priming, September 2004.
|
|
The back of the tender was needle-gunned and primed by Iain and Davie at the end of June. |
Needle-gunning of tender tank complete, September 2004.
|
|
John giving the back of the tender cab its second coat of primer, June 2004. |
More of John preparing the surface for painting.
|
|
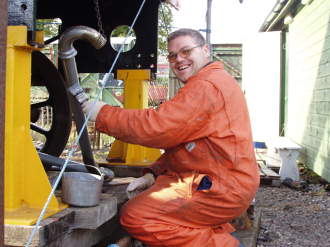
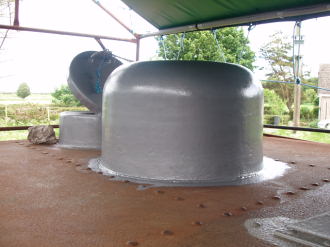
John needle-gunning the tender water scoop dome. |
The top of the tender was needle-gunned and primed by John, Iain and Davie during June 2004.
|
|
The fine weather during 2003 enabled us to push on with painting of the tender frames. We are using a two pack system suitable for marine environments. |
The dome resplendent in it's first coat of primer.
|
| Back |
© The Carmyllie Pilot Company Ltd 2008 |