THE TENDER TANK
|
||
| (This page is arranged in reverse chronological order) | ||
|
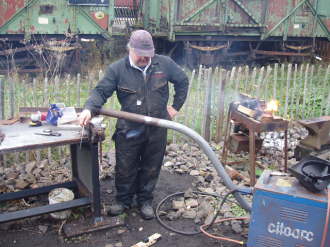
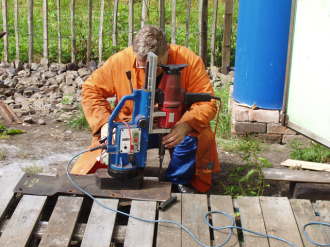
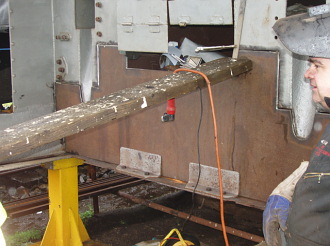
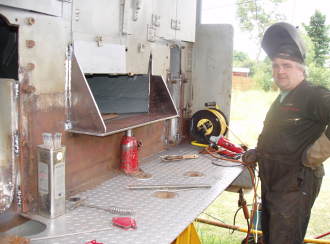
The last 18" of this brake pipe was badly corroded and had to be cut off and a new piece welded on and threaded. Our new MIG welder can be seen at the bottom right of the picture.
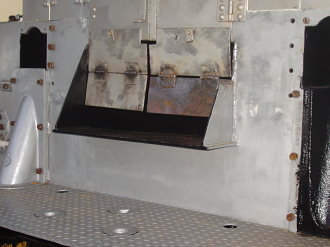
The brake gear cover bolted in place, August 2005.
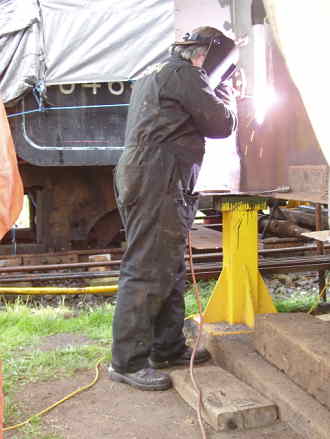
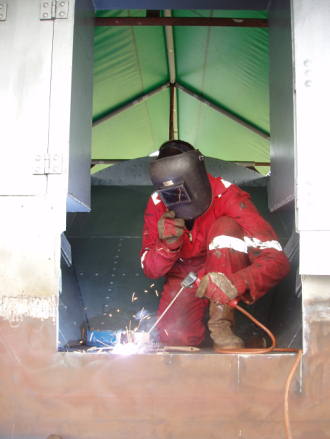
Ian setting up to weld the coal step into position, July 2005.
John grinding the checker plate in preparation for mounting the water scoop cover.
Iain setting up to drill the mounting holes on the repaired water scoop blanking plate.
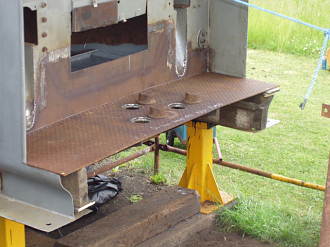
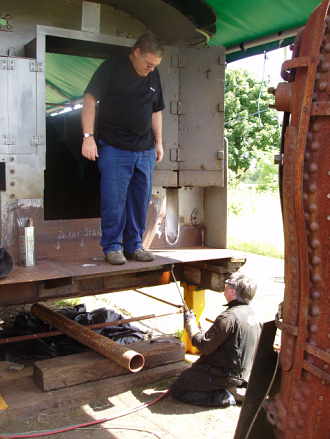
The footplate welded into position. There is still some more welding to do underneath and a couple of holes to drill, but the tender tank is now almost complete. The handbrake cover can be seen on the LHS of the footplate offered up in position, ready for the mounting bars to be welded in place.
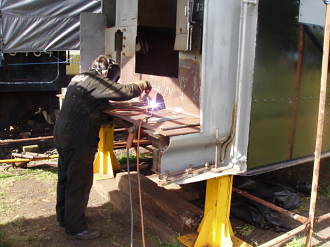
Ian welding the footplate, June 2005. This entailed a certain amount of levering and jacking to ensure it went in straight and level.
The footplate had suffered some distortion whilst welding on the supports. Here, Ian heats up the offending part whilst Iain gets ready to apply a little brute force.
Tender footplate with drawbar pin access covers removed. These are just tacked in place, Ian later welded them in top and bottom so that water cannot penetrate and form a corrosion trap.
The tender footplate successfully trial fitted. Then it had to be removed again to weld the remaining parts in place.
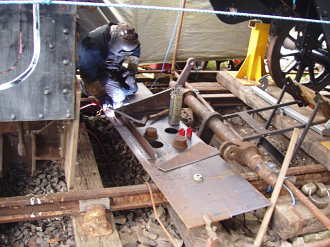
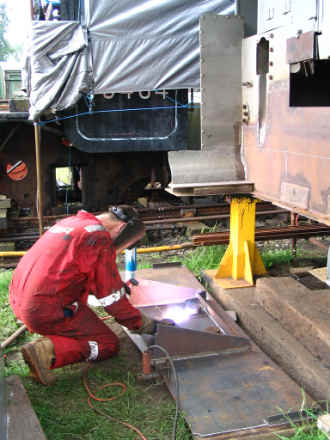
Ian welding up the tender footplate support framework.
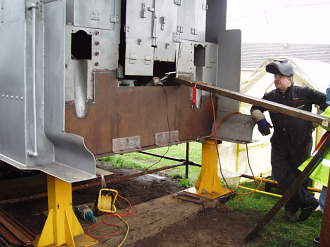
Ian welding up the last of the new tank front. The inside welding has already been finished.
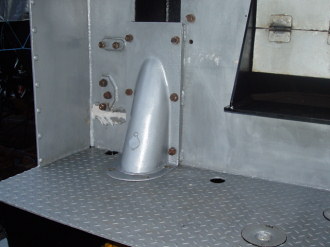
Sir Launcelot admires his new jousting pole.
Ian and Iain offering up the tank front repair section, which was cut and prepped last summer. Some final preparation was then carried out on the surrounding steelwork to enable it to fit properly.
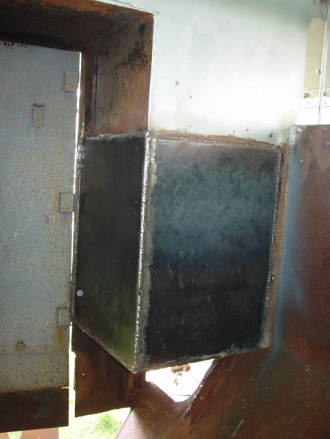
The RHS sieve box ready for painting, with new rubber seal fixed to the 'lid', April 2005. The sieve boxes are mounted on either side of the underside of the tender tank (the box is upside down in this photo). The LHS sieve box is away getting a crack caused by frost damage welded up.
Ian cutting the baffle repair sections to size, ready for welding in place.
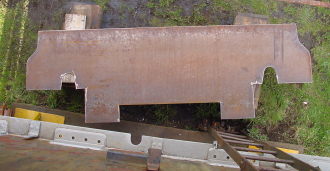
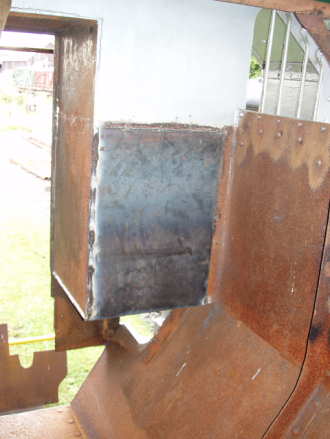
The front of the tender tank, the tender cab floor and the floor of the bunker were all badly corroded. The photo below shows the repair section for the tender tank front prepared and ready to fit in place. The bunker floor has also been cut to size and is ready to fit. We have left the front of the tank open for access and ventilation whilst we complete repairs inside the tank.
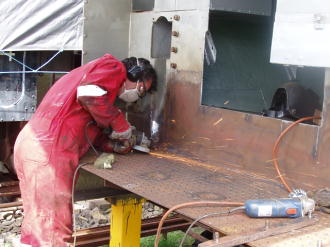
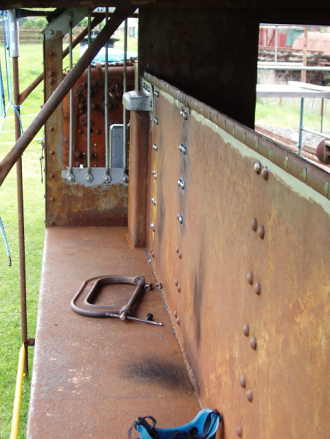
Rivetting involves practice, organisation and equipment and is a lot more difficult than the end results suggest. However, once you are up to speed, you can put in a lot of rivets fairly quickly. The photo below shows all the rivetting on the left hand side of the bunker completed. This area can now be prepared, ready for painting.
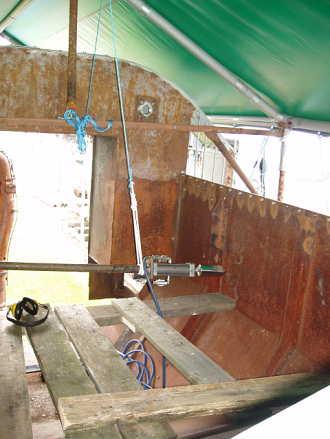
The Mk 2 holdup tool is shown below, with steel extension bar and bungy cord support to bear the weight (it gets heavy after a while!)
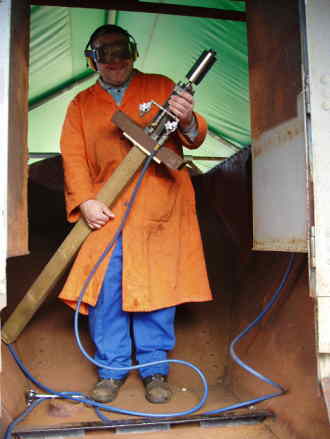
About 1/4 of the side rivets were wasted and had to be burnt out and replaced. Here, Iain demonstrates the pneumatic hold-up tool for rivetting up the bunker sides.
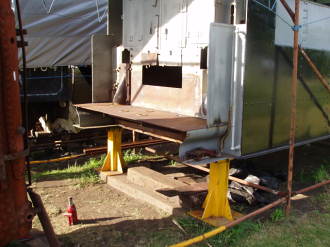
The tender was quite badly rusted, due to the combined attack of water and coal dust over 50 years. When we moved the engine to it's present site, we lifted the tank off it's frames, stripped the tender down to the last nut and bolt and needle-gunned and painted the frames. The picture below shows the newly-painted wheels and frames, and the heavy duty stands we had made up to support the frames and tender tank.
|
I |
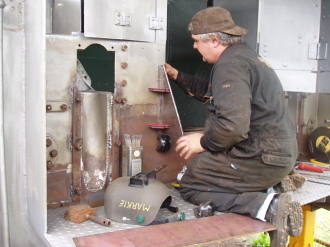
Coal step doors repaired.
Coal step almost complete.
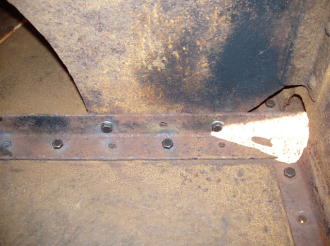
One of the drawbar pin access covers, with welding and grinding completed.
Robin welding the bunker floor in place.
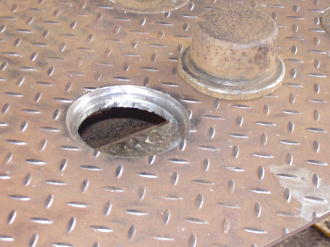
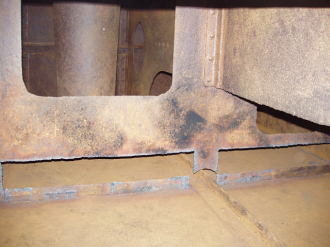
The bunker floor offered up ready for welding into place. There is a coal shelf still to be welded on at the front. The hole in the bottom RHS corner is a drain hole and has been enlarged from the original size to help stop it blocking up.
Stage two of the operation. The left hand side had already been straightened out earlier.
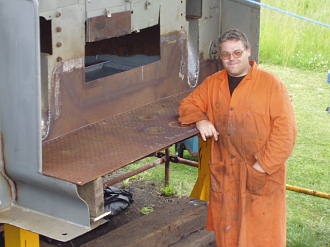
The satisfied expression on Iain's face is because we started cutting out rotten steelwork from the tender tank in 2001 and now it is finally almost all back in again. Some days there isn't much visible progress, on others it all comes together.
Robin tack welding the various minor parts to the underside of the footplate.
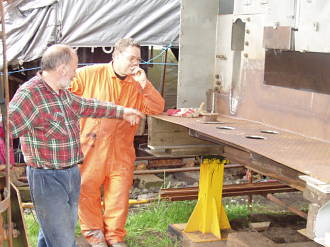
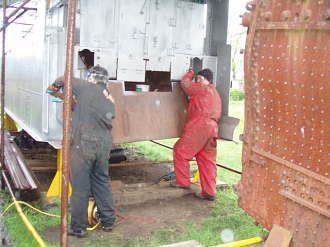
Max and Iain trial fitting the tender footplate. Some minor grinding was required on the left hand side, otherwise it was ok.
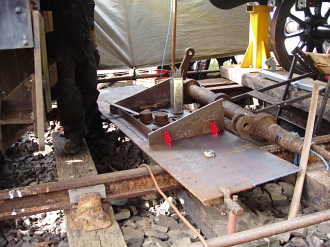
Assembly of the tender footplate sub-assembly in progress.
Iain preparing the bunker floor for priming. This was cut out in 2001.
Ian pauses for a breather with the tank front offered up ready for welding. The plate had a bend on it and required a fair bit of manipulation to get it to fit, plus it is quite heavy. Max's construction experience came in handy at this point. (This is probably the only website not to associate dogging with ex-professional footballers) The grey brackets in the centre of the photo were recovered from the original tank front. The tent covering the tender really came into its' own today, we could not have got any welding done without it. May 2005
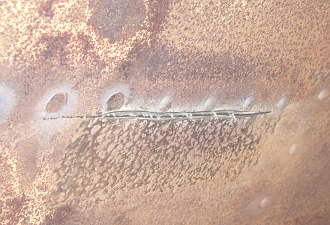
Ian burning along the RHS crack to prepare it for welding, April 2005.
The LHS crack in the tank base after Ian had prepared it for welding. The original crack was almost invisible. April 2005.
Bunker protective plates welded in, September 2004.
The first protective plate welded in position on the back of the tender cab, August 2004.
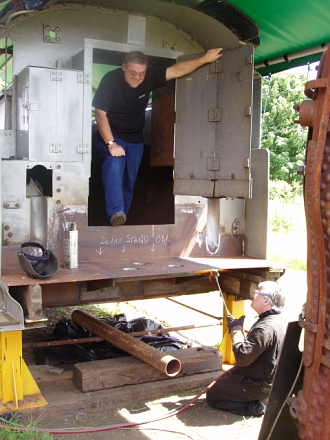
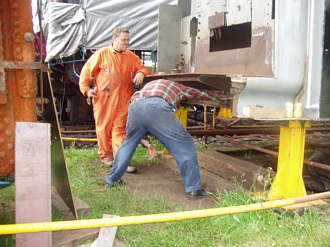
We don't encourage horseplay. Oh no. Restoring a steam engine is a serious business.
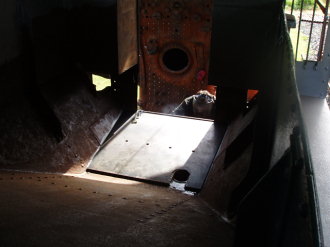
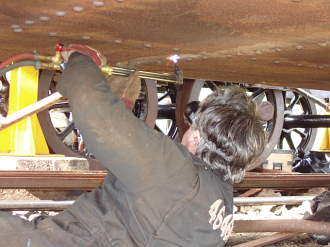
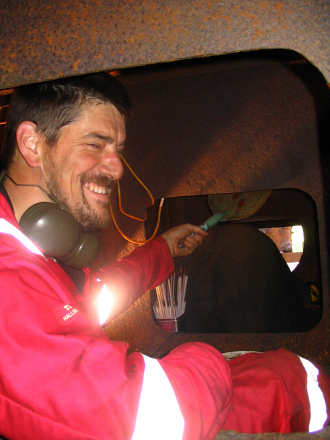
Another shot inside the tender tank, towards the front, where wasted rivets have been burnt out and alternate holes bolted up ready for re-rivetting. After a few hours squashed in here (I'm 6 foot 5) you wake up the next morning feeling as though you've been hit all over with a baseball bat.
Ian casting a critical eye after welding up one of the baffle repair sections, August 2004. Only two more left to go.
Inside the tender tank, facing rearwards. All the scale has been removed, and the corroded sections of baffle plate cut out. The repair sections have been cut out and prepped, ready for welding in place. |